Beginners guide to Product photography

I use to look at the photographs on e-commerce websites and think who took them? That must be an easy job. You place the object on white paper take photo and that's that. How wrong I was!!

For someone who has photographed gigs, weddings, family portraits, landscape and model portraits. Product photography is by far the hardest type of photography I’ve ever tried. Landscape photography can be hard but that's normally down to location and the elements.

Control the light!  In Product photography lighting is king. Bad lighting the products could have been taken on a smartphone or worse a tablet. The client won't sell their items and the whole point of product photography is to make the item look good for your client. Having used all types of light setups I can say the best way to light an object is full control. You'll need a lighting table or an area where your objects can be placed, with a good few flashes. This allows you to control where each part of the light will hit the product. Control comes with modifiers mainly. Snoots and softboxes are the way forward. What you’re looking for is soft light and highlights on the product. Sometimes softboxes don’t give you the softest of light that’s where you need a scrim. A scrim is basically another diffuser. You don't need to use all the power the flash will give you but it all depends on your product. The best way is to try it out. 

home made light box

home made light box

light tent

light tent

LED light box

LED light box

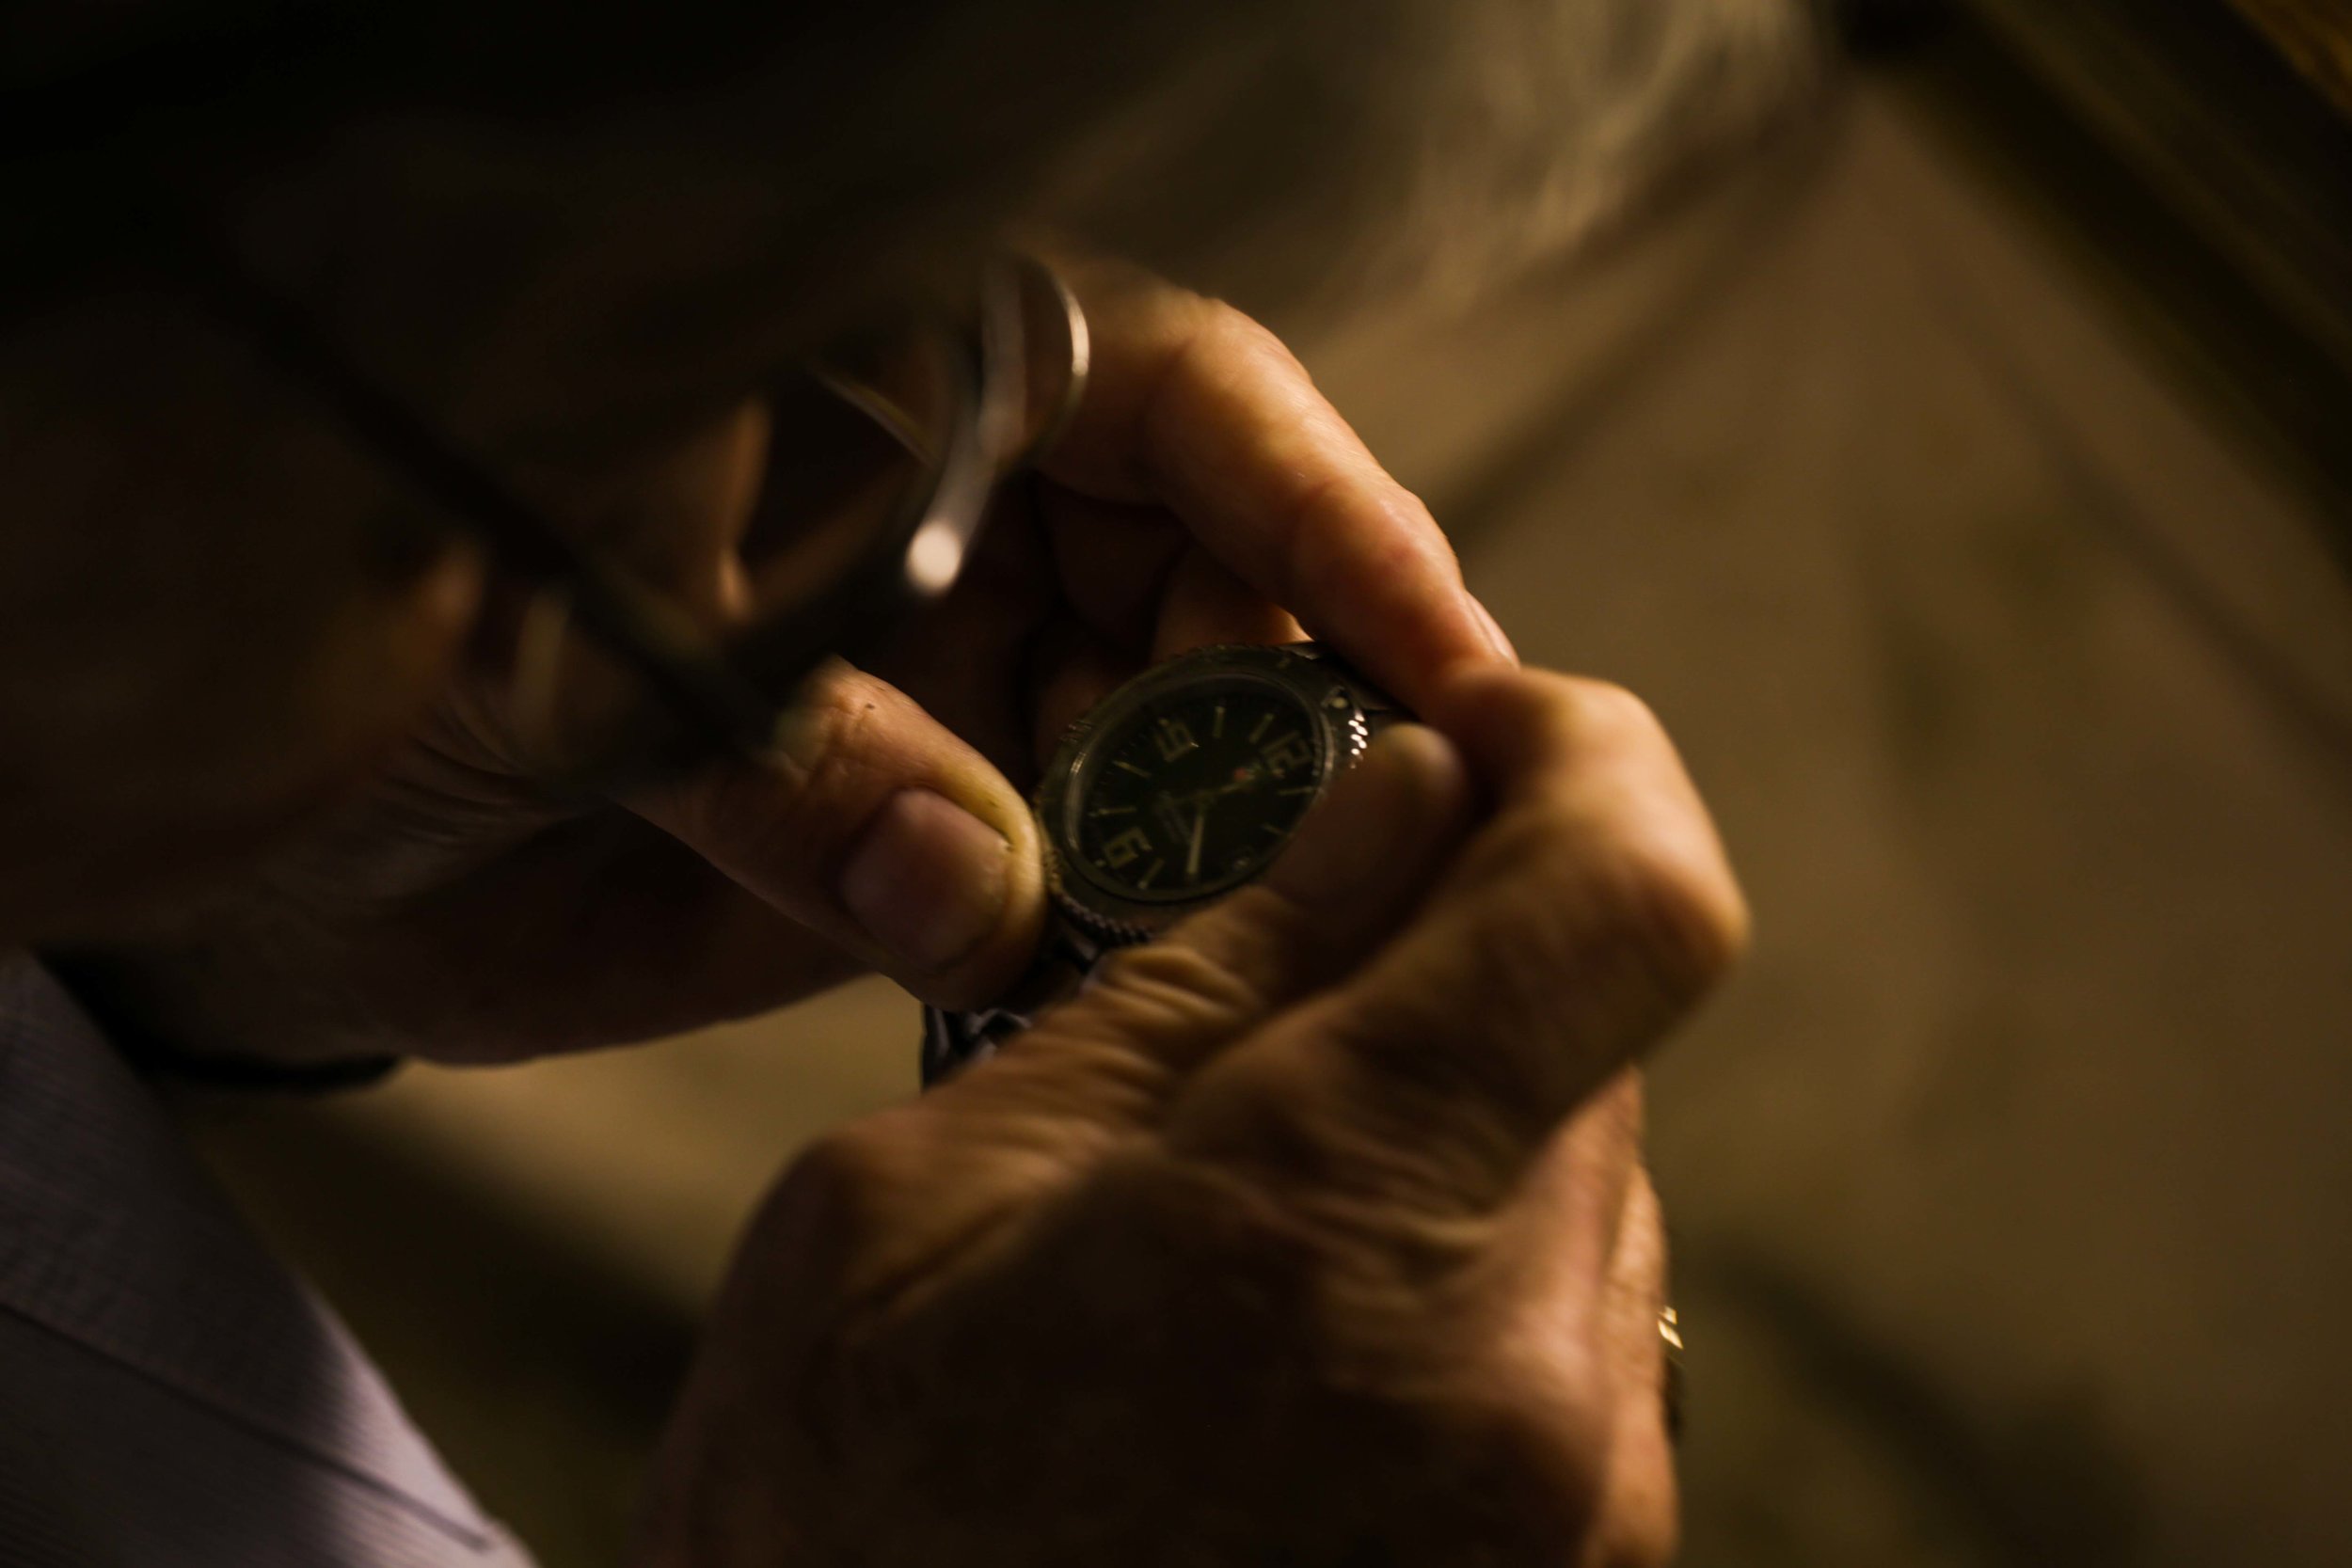
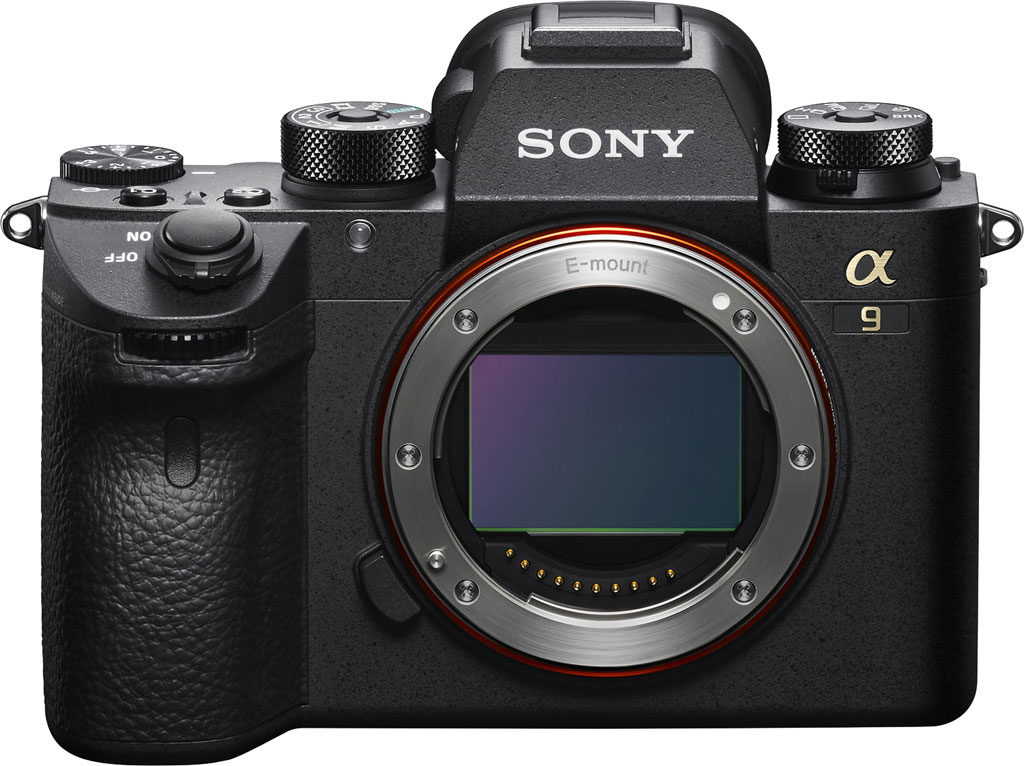
Macro lens! When it comes to photographing any product you want to see all the details and you can't reach that without a macro lens. The details macro lenses give you is something you’ll want to look into. If you’re getting a nice tight close up of an item it can bring out all the details your client would need.

Use a tripod! Tripod is a must-have. A tripod will keep the camera stable and allow you to set your scene. It will reduce camera shake more than holding your camera in your hand. Use a tripod.

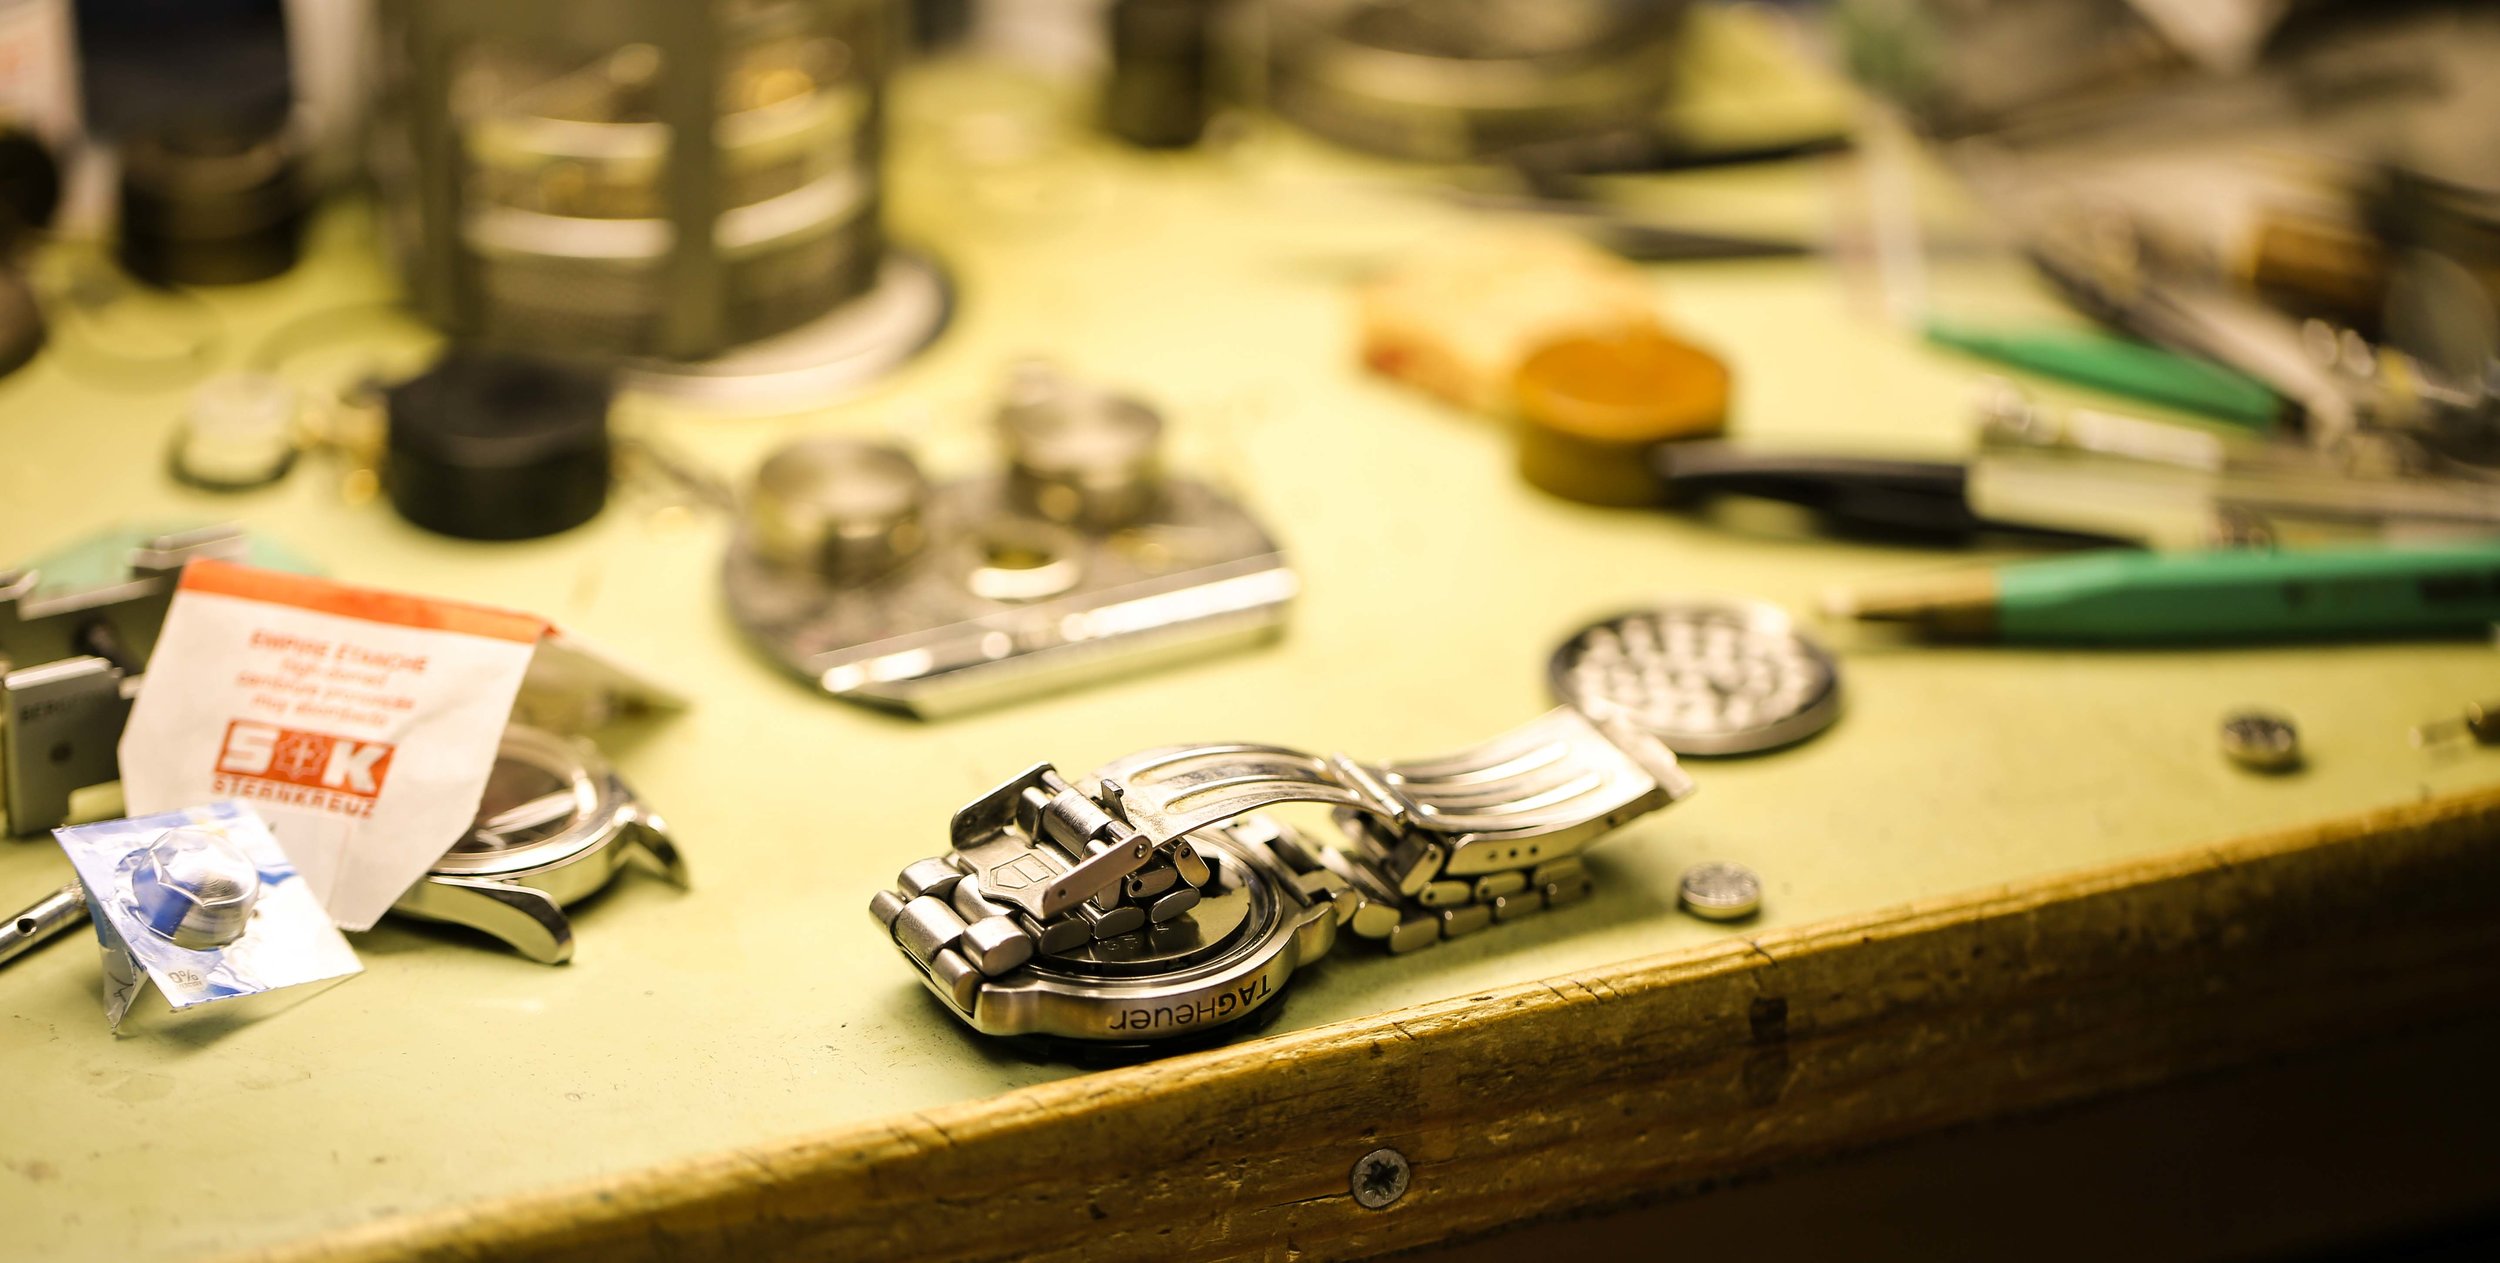
Lifestyle/In Context! Props can really change a photograph, having little bits can help draw the views eye to the object more than you’d think. Your client might want to see there product in the real world so taking the items out of the studio and having them used in context can really help their potential customers get an idea how a product would look in their hands.

london-bus-juul-IG.jpg
IG1.jpg

Change the angle! By moving the camera around the object and finding a different angle it can give you a completely different image. Don’t just stick to one potion.

Crop-Black-glow-IG-FB.jpg

Photoshop Having a basic knowledge of photoshop allows you to clean up your image. Sometimes there can be dirt on your item and with photoshop you’ll be able to clean it up quick and easy. It also allows you to crop the image. This can also as above give you another angle.

Focus stacking! Focus stacking is taking an object and photographing it many times, each time changing the focus point and then with photoshop stitching it all together. There are many ways of stitching your images together but I found Helicon focus is the best. The software stitched every image together giving super sharp images. Helicon Focus also came with Helicon remote, an extra bit of software that allows you to tether your camera to your computer and control how many shots you want to take, what the aperture and exposure will be. You can set it up to shoot from 1 image to 999 images.  Helicon remote also allows you to see which part of the item is in focus. It gives a blue outline around your object when that area is in focus. This allows you to figure out how many shots you will need to use. The best way to use Helicon remote is to set the shot count to 123 and when then software has photographed each section of the product you can stop it with the stop shooting option. Helicon remote also allows you to see the focus points. Giving you a blue line around your object so you know which part is in focus.

Shoot in RAW! Don’t just shot in Jpeg you have less control. Always shoot in RAW. Raw files are much larger than Jpegs but if you underexpose or over with a RAW image it allows you to fix in either Camera RAW or Lightroom.

Watch photography

Now-a-days if you want to tell the time you'd look at your phone. The smart phone has changed everything from taking photos, filming videos, browsing the internet and telling the time and so on. Well, people still wear watches, and people still pay crazy sums of money for them. As a person who doesn't wear a watch but is still fascinated by the repair process, Jewellery and Watch photography are on the same line. They are both small products that need good eye catching images to sell. The more detail in a photo of a watch can definitely increase the potential of selling the item. 

The best way to shoot a watch is on a photography table, having a main light and then a few other lights to pull out the detail. Always find out what background the client wants first. In each shot you need to highlight the brand, making sure it is visible and if you need an extra bit of light and don't have any more lights, then you can use a reflector and if you don't have reflectors a white card will work nearly just as well. All product photographers have white card. It's something you'll use for the first time and think why wasn't I using this all the time. Like all products you photograph you should always focus stack the images. You can use Helicon focus or photoshop. I recommend Helicon Focus. 

I took some shots of a watch repairer, or horologist, to use the proper term. 

A guide to editing Jewellery

So you've been asked to photograph some Jewellery. Firstly you need to know what background the client wants the item on. White, Black and so on. You'd then need to shoot the item making it look the best you can. The diamonds need to sparkle, you don't want a reflection of your camera and tripod in the item, so make sure you shoot the item correctly. I'll go into shooting jewellery in more depth in the future. 

Now the item is shot but the background isn't pure white. What do you do? Firstly take the image into photoshop. Create a new copy of the image in a new layer, on mack thats cmd and J. Once on you have your new layer make sure that the correct layer is selected. 

Screenshot 2017-05-18 12.04.17.png

With this image above, I wanted one part of the necklace, so with the pen tool you cut out your item. The pen tool is very tricky to use if you don't know how, I'm still trying to figure it out now. If you can't get to grips with it you can use the quick selection tool by pressing W on a mac keyboard. The quick selection tool is great but not a precise as the pen tool so make sure you check the area you want to cut out is selected correctly before the next step. 

Once the item is selected again create a new layer via copy so cmd J on the keyboard. This will cut your selected item out and put it on a new layer. 

This image is an example and not cut out correctly 

This image is an example and not cut out correctly 

Screenshot 2017-05-18 12.16.21.png

Then, make sure the layer below is selected and create a new blank layer. Once that is open and selected press shift and F5 giving you the Fill box. Make sure the fill content is White and mode is normal and the opacity is 100% then click ok. 

Once that is done turn on your above layer. The cut out image, if you've cut it out correctly, should end up with your item on a pure white background. 

You'll know its pure white by picking the eyedropper tool and selecting any part that is white and if the # is #ffffff then its pure white 

Layer mask 

Layer mask 

Once that's done, you can create a reflection. This is achieved by copying the original cut out and going to EDIT in the menu bar and clicking transform. In the transform section, selecting Flip Vertical. You would then, whilst holding the shift key drag the second image below allowing the two bass parts to just about meet. Once they meet you would go back to the layers panel and create a layer mask.

You would then choose the gradient tool, and from there pick the Foreground to Transparent mode. Whilst on your new layer you would drag up. This will softly blend away, giving the impression of a reflection. 

Once this is all done you can perform the normal editing changing levels and brightness of your item and maybe some colour correction. Though if you have shot the image correctly you wouldn't have much to do.

I hope this helps anyone trying to reach these types of results. 

Equipment update

As a photographer, you always here gear isn't everything. It's true you can use your phone and get an amazing photo nowadays. Though when you have the right equipment you can get that amazing shot nearly every time. I recently sold my Canon 70-200 f2.8 mkii lens, for a Canon 100mm f2.8 macro as I wanted to concentrate on shooting jewellery and products. I do miss the 70-200mm yes, but I wasnt using it as much as I would have liked. 

100601_1805_dancarr.jpg
Canon_3554B002_EF_100mm_f_2_8L_Macro_647011.jpg

The 70-200 is the best portrait lens I've ever used. If you're shooting a wedding its great due to the focal length and the wide aperture. You can be some distance away and get a great portrait. A lot of photojournalist have them to get them celebrity shots. If you're shooting portraits it's definitely the lens you'd want to invest in. Saying that I don't mean only if you shoot with Canon. The new mirrorless systems are taking photography to the next stage. The new Sony A9 which is being focused mainly as a sports camera, would also be great as a wedding camera and with the 70-200 on an adapter you wouldn't miss a shot.  

The canon 100mm f2.8 lens in theory is an  upgrade. Upgraded is a odd word when the cost is nearly half the 70-200mm but this lens does what I want it to do. I'm actually looking to get a wide angle macro as well in the future so I can cover all the products I wish to photograph. You can get such detail with this lens, its 1:1 macro so the whole sensor will be covered. If shooting small objects its something you'd want to invest in. 


Moving forward, an upgrade of my camera body is needed. Having the Canon 5d Mkiii for nearly 5 years now, I feel it is being left behind. Not only by Canon themselves with the MKIV being released earlier this year but also the mirrorless systems. I had looked at the Canon 5DS for more megapixels due to product work but Sony had the A7Rii which has a larger number of megapixels than I'm using now, not as many as the 5DS but it was smaller and had a lot more gadgets built in. I kept hearing bad things about Sony and there battery life and single memory card slot. So I've held off, and mainly because they cost a lot. I don't mean a few hundred, a few thousand. Even with selling all my gear I could maybe afford the body, so no lenses, and a camera with out a lens is pointless and stupid.

ZPR-SONY-A9-TOPFRONT.JPG

Sony then come along and bring out the A9 which is only a few more megapixels than I'm using now, the extras 20 fps, when would I use that? Probably never, unless shooting a wedding or sports event. How often does that happen, not very. Which is sad actually. I like shooting weddings. 693 focus point, my Mkiii has 60ish thats a massive jump. Total silent shooting mode, perfect for golf shots or even weddings. This camera does it all it seems. Dual SD card slots and a battery upgrade and ability to add a grip. Oh, and also no black out. No black out?  On normal cameras the shutter opens and the viewfinder or screen goes black well, with the A9 this doesn't happen, you just keep shooting. The focus tracking is working all that time too. So you're never not in focus. Again why would I need this if Im only shooting products? It's better to have and not use than to not have and need. BUT, a big but there, the cost. £4,499. no lenses. This camera is to compete with the Canon 1Dx and the Nikon D5 both professional sports cameras costing around the £5,000 to £6,500. So the Sony is cheaper. Does a product photographer need one. No. I don't believe they do.  Do I want one, 100% yes, if money wasn't a problem, yep I'd think I'd fully change from Canon to Sony. 

Till then I'm still using my Canon 5D mkiii, with the 100mm attached and when doing some landscapes I have the 24-105 f4.5 and for portraits I use the 50mm F1.8 and the 85 f1.4, though I still miss the 70-200 f2.8 it's still the best lens for portraits.